Tag: hard cheese
Should You Eat Moldy Cheese?
It’s always a shame when we discover our food has gone to waste because of mold. While mold is usually a sign that it’s time to discard something, it’s not as clear exactly what to do when it comes to cheese. Here is a guide which will help you differentiate which cheese is ‘good’ and which is ‘bad’ when mold takes place.
Image Source: static1.businessinsider.com/image/54cffb496bb3f7225d1b7747/we-definitively-solved-the-debate-over-whether-you-can-still-eat-cheese-with-mold-on-it.jpg
Now there are very clear types of cheeses that must be discarded when mold occurs- soft cheese like cream cheese, cottage cheese, and ricotta cheese. Also, cheese that is shredded, sliced or crumbled should be discarded when mold appears. With these kinds of cheeses, the mold can send threads all throughout the cheese. Harmful bacteria such as salmonella, e.coli, listeria, and brucella can also grow throughout the cheese. So stay clear of any consumption if these cheeses have mold.

Image Source: newhealthadvisor.com/images/1HT00226/PART1.png
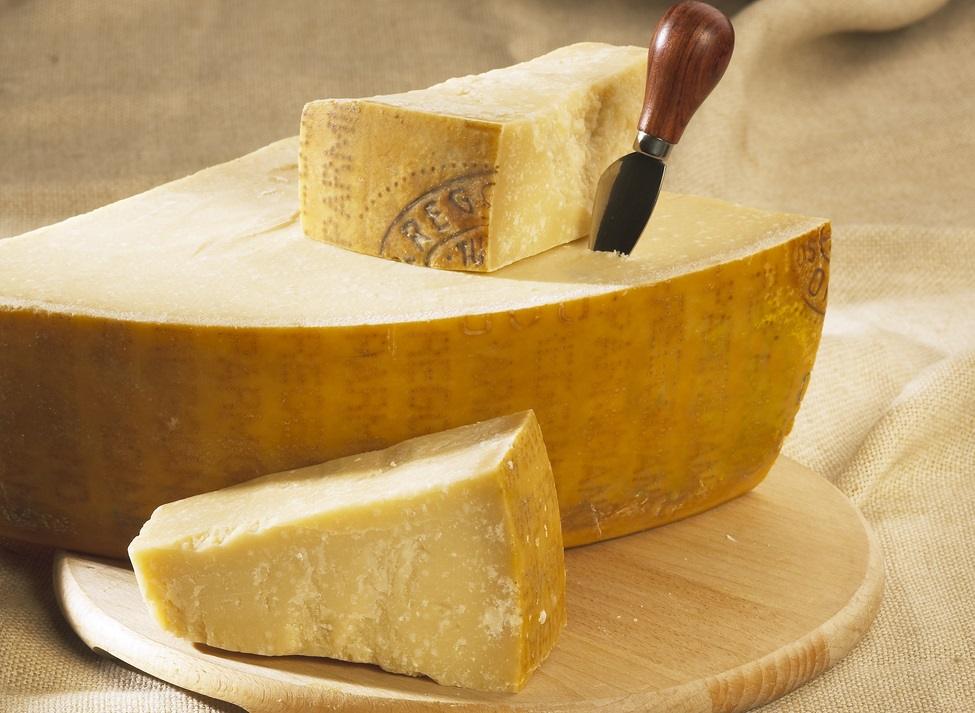
There is still hope for cheese with mold, though. Mold usually can’t penetrate far into hard and semisoft cheeses, like cheddar, parmesan, swiss and Colby. So it is easy to just cut the mold away from the cheese and eat the rest. It is safe practice to cut at least an inch around and below the mold to be safe, and do not contaminate the rest of the cheese by touching it with the knife.

Image Source: triggerwarning.co.uk/wp-content/uploads/2016/02/Cheese-board.jpg
It is true that not all molds pose a risk. Some types of mold are actually used to make cheeses, such as Camembert and Brie. These are safe molds to eat.
Whether or not you should eat the mold generally relies upon what type of cheese it is. It’s usually quite easy to differentiate between, but if you find yourself unsure, it is best to discard the cheese, just to be safe.
A How-To: Making Hard, Aged Cheese From Scratch
You may think that making hard cheese is more difficult than making soft cheese, but there’s not much difference when it comes both of them. When making soft cheese, you have to make curds, which can be quite difficult, as opposed to the few minutes of work you have to put in with hard cheese. It is just the long wait time which makes hard cheese making, a little challenging.
 Image source: walksofitaly.com
When it comes to making hard, aged cheese from scratch, it takes some specialized equipment which you can purchase from special cheese- making suppliers.
Here’s a list of what you’ll need:
* Cheese Mold and Press- The two are quite expensive but it makes sense if you are going to be making hard cheese a lot.
* Cheese Salt- used to rub the cheese in prior to aging.
* Cheesecloth, butter muslin and a fat of your choice- used to wrap the cheese for aging.
* Waxed Paper
* Plastic Wrap
* Aluminum Foil
Pressing the curds into cheese
1. Line the mold with the damp cheese cloth.
2. Fill the cloth-lined mold to the top with cheese curds, pressing the curds down to fill all gaps. Fill mold to the top.
3. Cover the top of the curds with the extra cloth. Do this carefully to avoid any indents in the cheese.
4. Put the plastic or steel disc (that comes with the press) into the top of the mold and apply pressure for the time allocated by the specific recipe you are using. Whey will ooze out as you press, use a container to catch the liquid.
Now, it is important to follow the times the recipe advises, but if no times are provided, follow these times:
* Press for one hour at 5 pounds pressure.
* Flip the cheese, replace the mold, press for 8 to 12 hours at 20 pounds of pressure.
* Flip again, replace mold, press for 8 to 10 hours at 20 pounds of pressure.
5. Once pressing is done, remove the cheese from the mold and unwrap the cloth from around it and place it on a rack to cool off. Be sure it’s in a dark place away from drafts to air dry. Air dry according to the recipe.
Time to age your cheese!
An easy way to age cheese is by salt-rubbing. This means sprinkling salt over every inch of the cheese and rubbing it in. You then leave the cheese in a draft free, dark area for whatever time the recipe specifies.
Another way to age your cheese is to soak it in brine. This is used for cheeses with a short aging process. Brining makes bad bacteria grow on the outside of the cheese to age it further. It helps make the flavor a lot better and it develops the rind of the cheese.
* The type of brine depends on the cheese. The recipe will specify whether it is light, medium or fully saturated brine.
* Brine should be kept at 55 degrees if you want to reuse.
Whichever method you choose to age your cheese, you must remember where in your home you do this, is important. The place must be warm enough, dark, humid and completely clean. It can be as simple as a closet or in your basement. A long as the temperature is between 55 and 70 degrees, it will be a perfect place to age.
Do not get disheartened if your cheese doesn’t turn out perfect. It’s a process which takes time and patience and eventually, you’ll get a feel of what temperatures, places work best. Practice is the key to success in everything, especially Hard, Aged Cheese making.


