Tag: goats cheese
Cheesemaking: Making Goat’s Cheese With Ash
The cheese that is made in this recipe is a lactic type goat’s milk cheese with a covering of salt and finely powdered charcoal. It will change from black to a nice blue-gray to white and bloomy surface.

Recipe
What You Need
1 Gallon of Goat’s Milk (Not UltraPasteurized)
1 Packet C20G Chevre Culture
1/16 Tsp C8 Penicillium Candidum
2-3 tsp Salt (non-iodized)
1/4-1/2 tsp Charcoal/Ash
Calcium Chloride (for pasteurized milk)
What To Do
1. Firstly, begin by heating the milk to a temperature of 68-72F. If you heat the milk on the stove, make sure you do it slowly and stir it consistently while it heats.
Add the Chevre and P. candidum culture once the milk is at the desired temperature. Sprinkle the powder to prevent it from becoming clumpy and allow it to sit for 2 minutes before stirring it in so it can re-hydrate.
2. There is enough rennet to ensure a proper set. So now let the milk sit for 18-24 hours while the culture gets to work and the rennet coagulates the curd. The thermal mass should keep the milk warm since this is being done at room temperature anyway. It fine if the temperature does drop a few degrees during the time, but find a warmer space if your room is generally cold.
Remember that the longer you let the curd set, the more acid will be produced.
3. Once the curds have been formed, there will be a thin layer of whey over the curd mass and there may be cracks and separation on the sides. You can test with a knife to see if it is ready. It will show a clean break.
You can now move the curds into the molds with a small spoon to allow the whey to drain. You can drain for 8-20 hours at 68-72F. The time amount has a huge range because it is all dependent on what you want for moisture in your final cheese. This means less time for a sweeter and moister cheese or more time for a drier and tangier cheese.
Note that the bacteria is still working and as long as the whey is present it is able to convert the lactose to lactic acid.
4. To add the ash, you simply need to dust a thin layer of charcoal with no salt after filling the molds about 2/3rds full and then add the rest of the curds.
Once the mold stops dripping whey, it should be firm enough to unmold.
5. The cheese is now ready to be salted. You can mix the charcoal and the salt together. The ratio which is best can be anywhere from 1:5 to 1:8 charcoal to salt ratio, depending on how heavy an ash surface you want on the cheese.
The base salt amount should be about 1 Tsp per cheese and you can apply this by sprinkling about 1/2 per surface. You can even it all out with your hand and spread slightly down the sides. Wait until the salt dissolves and soaks into the cheese body before you salt the other side.
After the salt has been absorbed and no whey drips from the cheese, the cheese can be taken to a space for drying. We are looking for the surface moisture to dry down so that no bright moisture spots can be felt or seen and the surface takes on a matte appearance. This can be done in a room at around 60F with 65-70% moisture. You should place a reed mat or plastic mat under the cheese to allow air movement.
6. Once you have dried the cheese out, it can go to the aging space at 52-56F and 90-95% moisture. This is where it will undergo the final ripening, but must be turned daily to even the moisture and keep the mold from growing into the mats.
After 3 days, you will already see signs of white mold on the surface changing from black to a dusty gray.
After 5 days you will see a full coat develop as the surface becomes light gray as shown in the photo. You would usually see this after 2 weeks when not using charcoal.
After 8-12 days the cheese can be cut as fresh or can be held for several weeks as the surface enzymes continue to work on the proteins, leading to a more complex flavor.
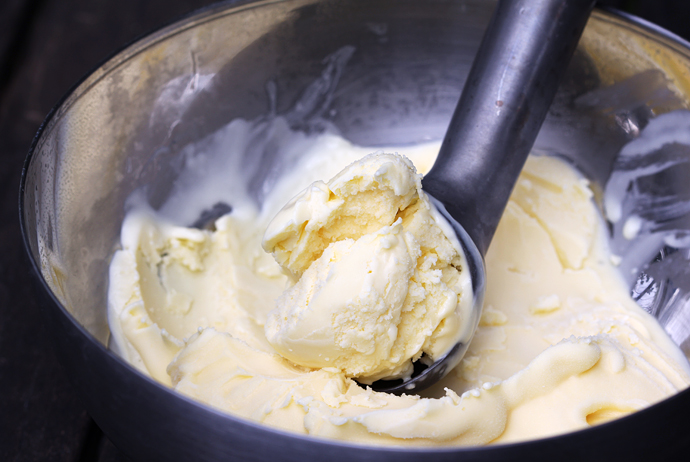
This Is No Ordinary Ice Cream… This Is Cheese Ice Cream!
I know what you’re thinking… Cheese…. in ice cream?! Absolutely! Now, this kind of ice cream is something completely different and unique. You might be expecting something sweet, but it is far from sweet, for all the right reasons.
Goat cheese ice cream might just blow your mind. For all you cheese lovers, this is a must try! Although it is ice cream, I wouldn’t consider it as a dessert, it is something that can be served with appetizers and entrees such as soups, spread on bread or even serve alongside some fresh salad. The possibilities are endless! This ice cream is definitely not sweet like you might expect, but it does taste delicious. The flavor is sharp and you can definitely taste the goat’s cheese. I find it best served with warm dishes so you can get that ‘melt in the mouth’ feeling to make it even more mouthwatering!
What You Need
4 oz Goat’s Cheese – Come pick up your delicious, top quality Goat’s Cheese at Shisler’s Cheese House!
3 tablespoon corn syrup
2 cups heavy cream
1/2 cup milk
4 egg yolks
1 cup sugar


