Tag: aging
Cheesemaking: How To Make Ibores
Recipe

What You Need
3 Gallons Goats Milk (Not UltraPasteurized)
1/16 Tsp MA4002 Culture
1/4 Tsp Calcium Chloride
1/2 Tsp Single Strength Liquid Rennet
2 lbs Cheese Salt (for Brine)
Spanish Smoked Paprika & Olive Oil
What To Do
1. Heat the 3 gallons of milk to 86F. Do this by placing the milk in a pot and put it in a sink of water with the temperature of 120-140 degrees. Once the milk is about to reach the target temperature, begin to add cold water to the water bath until the temperature falls to around 2-3F above the milk target temperature. If you prefer to heat your milk on a stove, make sure you heat the milk slowly and stir it well.
When the milk is at 86F, it is time to add the 1/16 tsp. of MA4002 culture. This culture is a combination of Mesophilic, which will convert lactose to lactic acid, and Thermophilic, which will produce minimal acid development but begins to work during aging to develop supple texture in the finished cheese.
As always, to avoid the culture clumping and caking, sprinkle it onto the surface of the milk and wait 2 minutes for the culture to rehydrate before you stir it in.
Now allow the milk to sit for an hour while the culture works and begins to ripen. A small amount of acid will be produced during this time. Be sure to keep it warm.
2. After an hour of ripening, add 1/4 Tsp of the single strength liquid rennet. The rennet will begin to coagulate the curd, let it sit for another hour. You will see the milk thicken after around 20 minutes, but it still needs the full hour for a proper curd to form.
One way to check for a good card, insert a knife into the curd at a 45-degree angle and lift slowly until the curd breaks. The edges should break cleanly and the whey that will rise should be clear, not cloudy.
Remember to utilize coagulation times by sanitizing the cheese molds and draining boards.
3. Once the curd is firm, you can cut it into 1/4 inch pieces. Once the curds have been cut, let them sit for 10 minutes. Don’t let them mat together, but make sure they have a layer of whey to rise to the top. If they try to mat, just give them a gentle stir and after around 5 minutes, let them settle again.
4. It is time to dry out the curds. You can do this by heating them up to 86F very slowly. It will take approximately 30 minutes, but can be extended if the curds are too soft. Stir them gently during heating to prevent them matting.
Examine the final curds to make sure they were cooked through and enough moisture was removed. They should be firm enough that they will have a moderate resistance when you press them between your fingers.
At this point, the curds can be allowed to settle under the whey.
5. The dry curds are ready to be transferred to the mold. Allow the curds to settle to the bottom of the pot and then drain the whey down to around 1-2 inches above the curd mass.
Stir the curds well to separate them before you transfer them to molds. The whey will float the curds into position and minimize any mechanical holes. Good pressure from your hands will help consolidate the curds.
Fold the draining cloth on top of the curd mass and then place the follower on top. It is now time to press the cheese.
6. To press the cheese, begin very light and then slowly increase the press weight to a moderate level:
60 minutes at 25 lbs
90 minutes at 50 lbs
4 hours at 75 lbs
After the initial drainage of whey, the rate of whey running off will be a matter of drops and not a stream of whey being released. This is a good rate of whey removal during pressing and will slow down even more as the residual free moisture is released. You should see tears of whey weeping from the form very slowly. When it stops completely, increase the weight slightly.
Remove the cheese from the press and unwrap, turn and rewrap and put it back into the press at the above intervals to assure an even consolidation.
You will see that the cheese has a smoother surface after each turn.
7. The pressed cheese should be smooth and have no openings. It would cause problems for the cheese to have cracks as it will lead to problems with molds during aging.
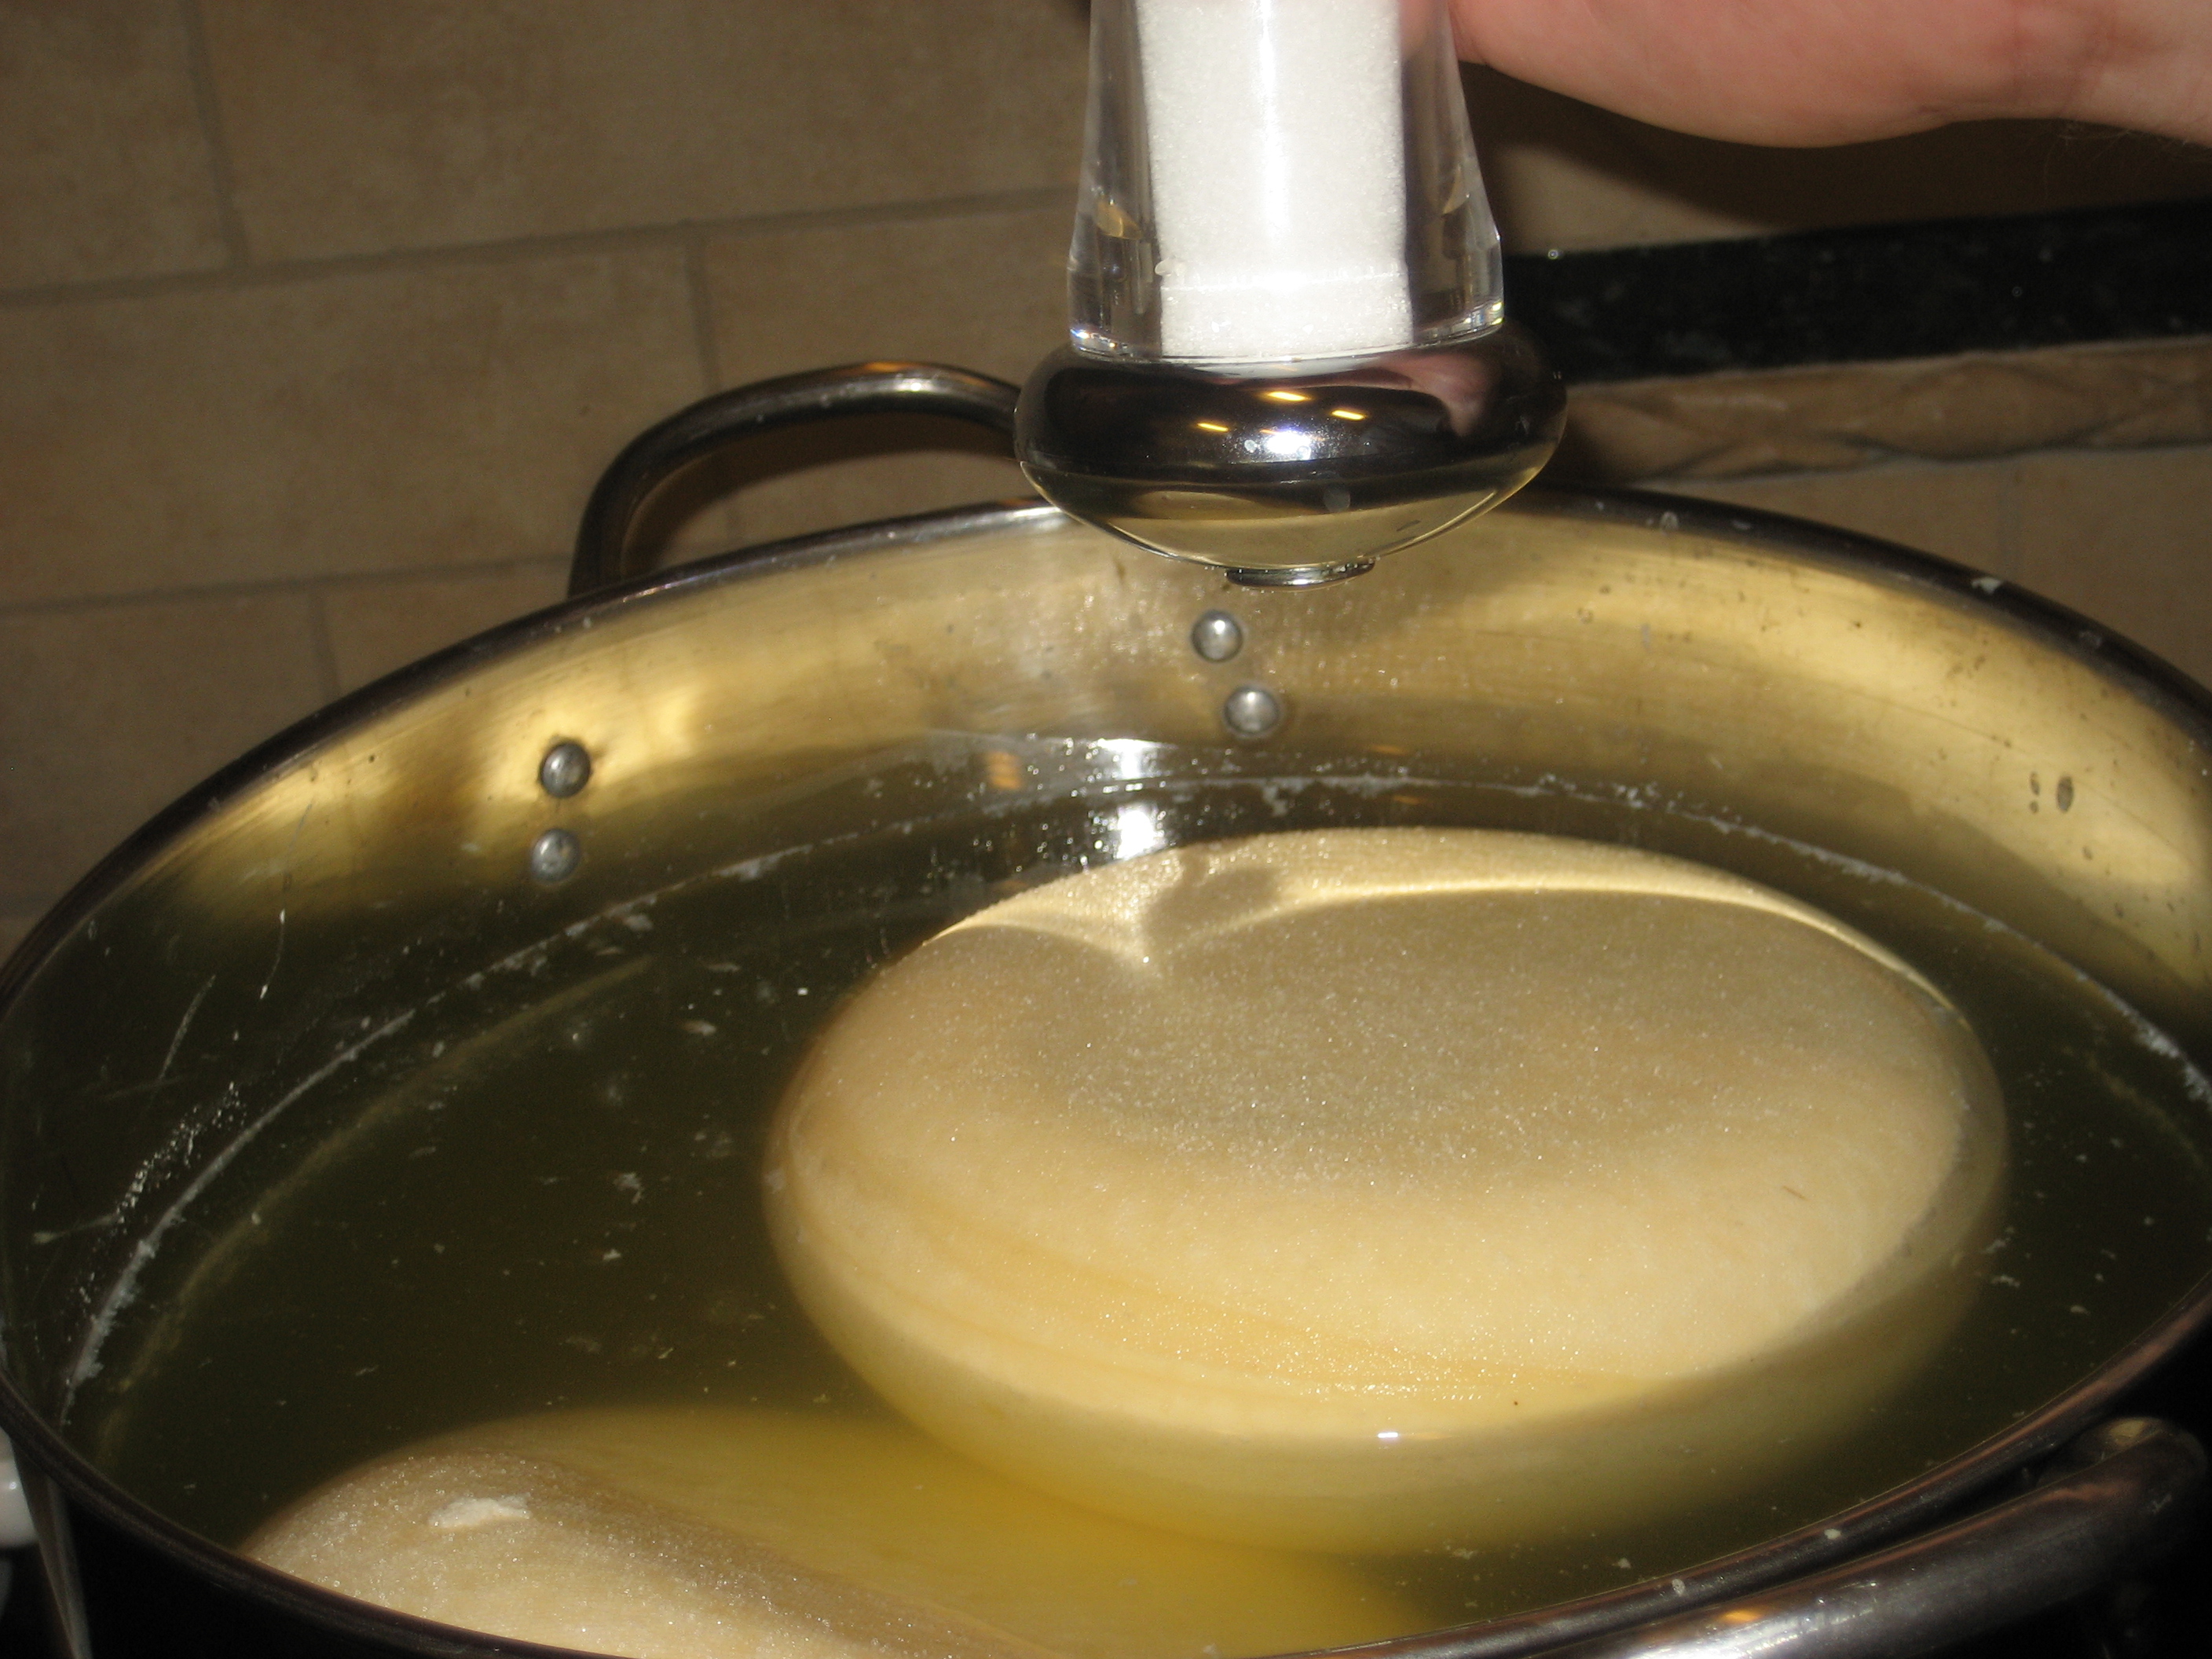
Prepare a saturated brine for salting the cheese. Here is a quick formula: 1 Gallon of water to which is added 2 Lbs of Salt, 1tbs. Calcium Chloride (30% solution), and 1 Tsp. white vinegar.
Set the cheese in the brine for 3 hours. The cheese will float above the brine surface so sprinkle another teaspoon or 2 of salt on the top of the surface of the cheese. Flip the cheese and re-salt the surface halfway through the brine period.
8. At the end of the brining, wipe down the surface and allow it to dry out for a day or two before you wax the cheese.
Prepare a mixture with just enough oil to make a thick paste/slurry to coat the cheese. Paprika is important for the flavor and aroma. Rub the cheese with paprika until it is well coated. In a day or so, the oil will be absorbed into the cheese which will ensure a dry coat on the outside.
Repeat the treatment when necessary.
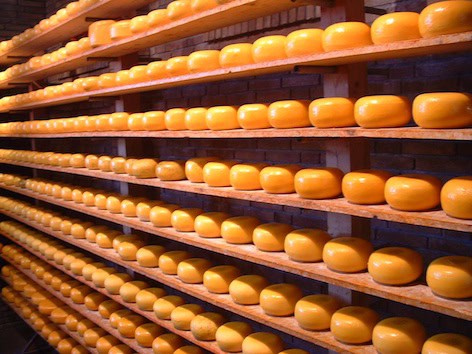
9. Now it is time to age the cheese. You can place it into the aging room at 52-56F and 80-85% moisture. Age the cheese for around 4-6 weeks, after this time, the cheese will be ready for serving.
How The Aging Process Works
As they say in the real world, age doesn’t matter. However, in the cheese world, it truly does matter. Aging, otherwise called ripening is one of the most important parts when producing cheese. When we set cheeses to mature in controlled environments, they begin to develop their unique textures, appearances, aromas, and flavors. For example, when Swiss cheese ages, holes begin to form and it firms up.
Timing

The scientific processes of when cheese ages are as followed: the enzymes and microbes develop inside the cheese and breaks down milk fat and proteins into a complex mix of amino and fatty acids. In simpler terms, aging basically transforms the texture of the cheese and intensifies the flavor.
For most cheeses, the aging period usually requires two weeks to two years in order to develop their unique attributes. When cheese ages it generally gets a lot more firm and distinctive in flavor and aroma. When aged for 24+ months, Parmigiano Reggiano becomes a lot more complex, developing a fruity taste alongside a gritty, firm texture. Not every cheese is aged though, mild cheese like cream cheese, cottage cheese and ricotta aren’t aged at all and are consumed when fresh.
Temperature

Temperature is very important when it comes to aging. Cheese is stored in cellar or cave type environments which have a closely monitored temperature and humidity. Not all environments are the same though, it all depends on what type of cheese is being made. When it comes to aging, soft cheeses, cooler temperatures are used and the process takes a lot longer because you must age soft cheeses slower to avoid bacteria, in a result of high moisture. If you want to age firm cheeses, high temperatures are used to get rid of excess moisture.
For general aging, the temperatures of the environments that aging takes place in a range between 10 degrees C to 15 degrees C. High moisture conditions are pretty normal, along with at least 80% humidity upwards.
Aging Techniques

Like many things, there are different ways to age cheese. Lots of different techniques are used to make many of the amazing cheeses we love. There are two main techniques which are called surface ripening and interior ripening.
For surface ripening, the aging begins on the outside of the cheese and progresses towards the inside. To encourage the growth of rind, microorganisms are rubbed onto the outer surface of the cheese. Brie, Munster, Morbier are an example of surface ripened cheeses which are also washed in a saltwater brine during the process. Sometimes, the brine is seasoned with wine and spices which carry flavor into the cheese and nurtures bacterial growth.
When it comes to interior-ripened cheeses, it is opposite to surface ripening and begins from the inside of the cheese and moves outward. The cheese is coated with wax to prevent further oxygen action on the surface, once it is done aging. Examples of an interior- ripened cheeses are Cheddar and Swiss.
For interior-ripened blue cheeses such as Gorgonzola, Stilton, and Roquefort, they contain additional bacteria and molds introduced to them during an aging period. Sometimes, the Penicillium molds are injected into the curd whereas other times, the microbes are already present in the air and grow within the aging cheese. For these molds, they grow into small fissures within the cheese, creating the famous blue-green veins and sharp flavor throughout the cheese.


